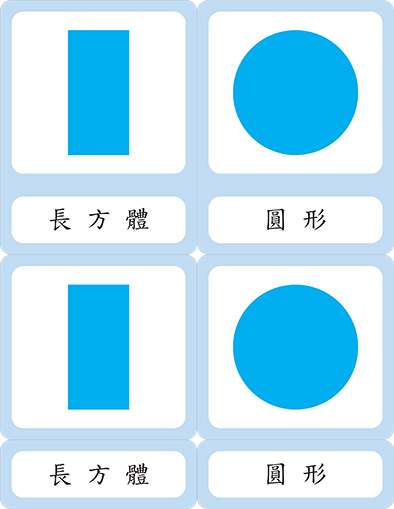
If you homeschool at home, suddenly there are many “tools” you need to get in order to make materials. In Montessori education especially, there are many nomenclature cards. A friend asked about laminator this week so I thought I’d note down the specific items I’ve used to make these cards. Because I hate researching and I had to research for each one to find cheapest price.
- 90lb Cardstock
Originally I tried using 110lb paper because I wanted the thickest card so it feels like a commercial product. But alas, I discovered that anything over 90lb most home printers won’t print and cheap laminators won’t laminate. - 3-mil 9×11-1/2 Laminating pouches, 5-mil laminating pouches
I use both 3mil and 5mil. Again, I originally wanted 5mil for all my nomenclature cards. But when you start making massive amounts, you realize that you don’t really need 5 mil except in a few instances. So I’ve used 5mil for things like bead arrows. In general I make my materials in the following combo:- Regular paper + 3 mil lamination
- Cardstock + 3 mil lamination
- Cardstock + 5 mil lamination
For example, for the Hundred Board game, I used regular paper + 3 mil because this was a quick material. For a bit of flexibility in feel when you hold the cards, I use card stock + 3 mil. For example, the Fraction Game cards. For items I want to last a super long time, I use Cardstock + 5 mil. These are cards I want to reuse for a long time by Thumper and Astroboy or to resell later or small items like the bead chain arrows I rarely use 5 mil now. Every time I think of how fast the kids will go through the cards, I’m reluctant to use 5 mil.
- Royal Laminator (PL2100)
Laminator can be super cheap or super expensive. I got a cheap one because I figured I wasn’t going to be doing it day in and day out. It does my 5 mil and 3 mil fine. I usually run each one through twice. I’ve seen better ones at work from Fellowes where you can specify up to 7 or 10 mil and it is HOT. But this one is only $30 and it does the job. - Bypass Paper Trimmer
I went the expensive route for this cutter. Cutters are temperamental. The not so great ones just don’t allow you to cut straight. And the cheap ones sometimes don’t allow you to cut thick materials like 5 mil + card stock. I spend the money and the toner and ink to print something out, only to have it not be cut straight?! Drives me nuts. For trimmers, I did some research and discovered that you don’t want the rotary ones. Also some trimmers don’t allow you to change the blade. I think this one does. I got a 50% off coupon and though it took several trips (I hate Joann’s! Long story) I did get the thing for around $50. - Scissors- Fiskars 9 Inch Premier Titanium Nitride Shop Shears (12-96536984)
What I do at least 70% of the time is actually cut by hand. If you are patient, often this gives you a better cut than a cutter. Because I hate that white edges on my cards. Making materials really bring out the perfectionist in me. Though with 5 months of material making under my belt now, I’m starting to see why teachers have always not been so exact. You do get tired after awhile, especially knowing the children may be will only touch the material 1-2 days.
For scissors, I also went for a fairly good one because I’m cutting a 5 mil sometimes. I’m sure you can also get this while Joann’s Fabric has a sale. - Corner Rounder – R Memory Keepers Crop-A-Dile Corner Chomper Tool
After you laminate and cut, I like to corner round each one. It is very sharp otherwise. And also a pain in the neck as it takes a long time. This corner rounder does 1/2″ and 1/4″. I usually do 1/4″. These things wear out quickly so you can’t have too many of them.
And let’s not go into the super expensive printer I bought to make my nomenclature cards and the tons of paper I burned through trying to print duplex correctly.
